

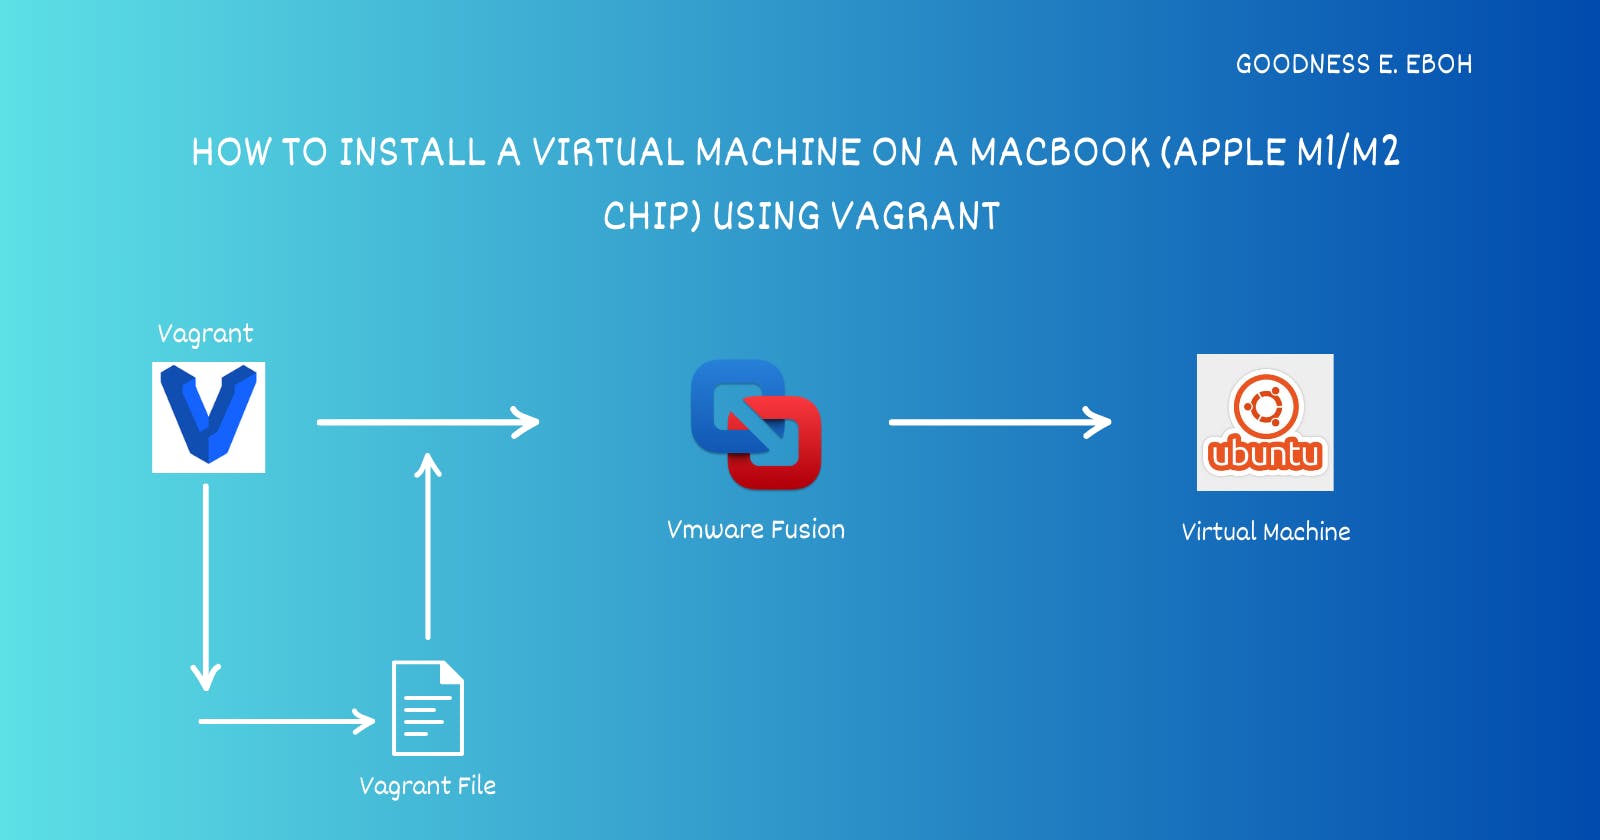
How To Install A Virtual Machine On A Macbook (apple M1/m2 chip) Using Vagrant


I recently started learning cloud engineering, and one of the requirements was that I needed to run a VM( Virtual Machine) on my Macbook. I didn’t think it would be an issue, so I followed the steps on my learning resource, but it turned out that a few of the hypervisors usually don’t work with M1/M2 apple-chipped systems.
There are other ways to get VMs on these systems, but my learning tree required me to use Vagrant. So I started researching and trying different hypervisors and methods, but after a few days, I reached EUREKA!!.
Considering how stressful it was getting it to work, I wrote a short tutorial listing the steps any M1/M2 user can take to make it work. It’s fast and straightforward and, most importantly, FREE!
STEP 1: INSTALL VAGRANT
|
For those who do not have vagrant on the system, open up your terminal and run the command above. It should go through without any hiccups.
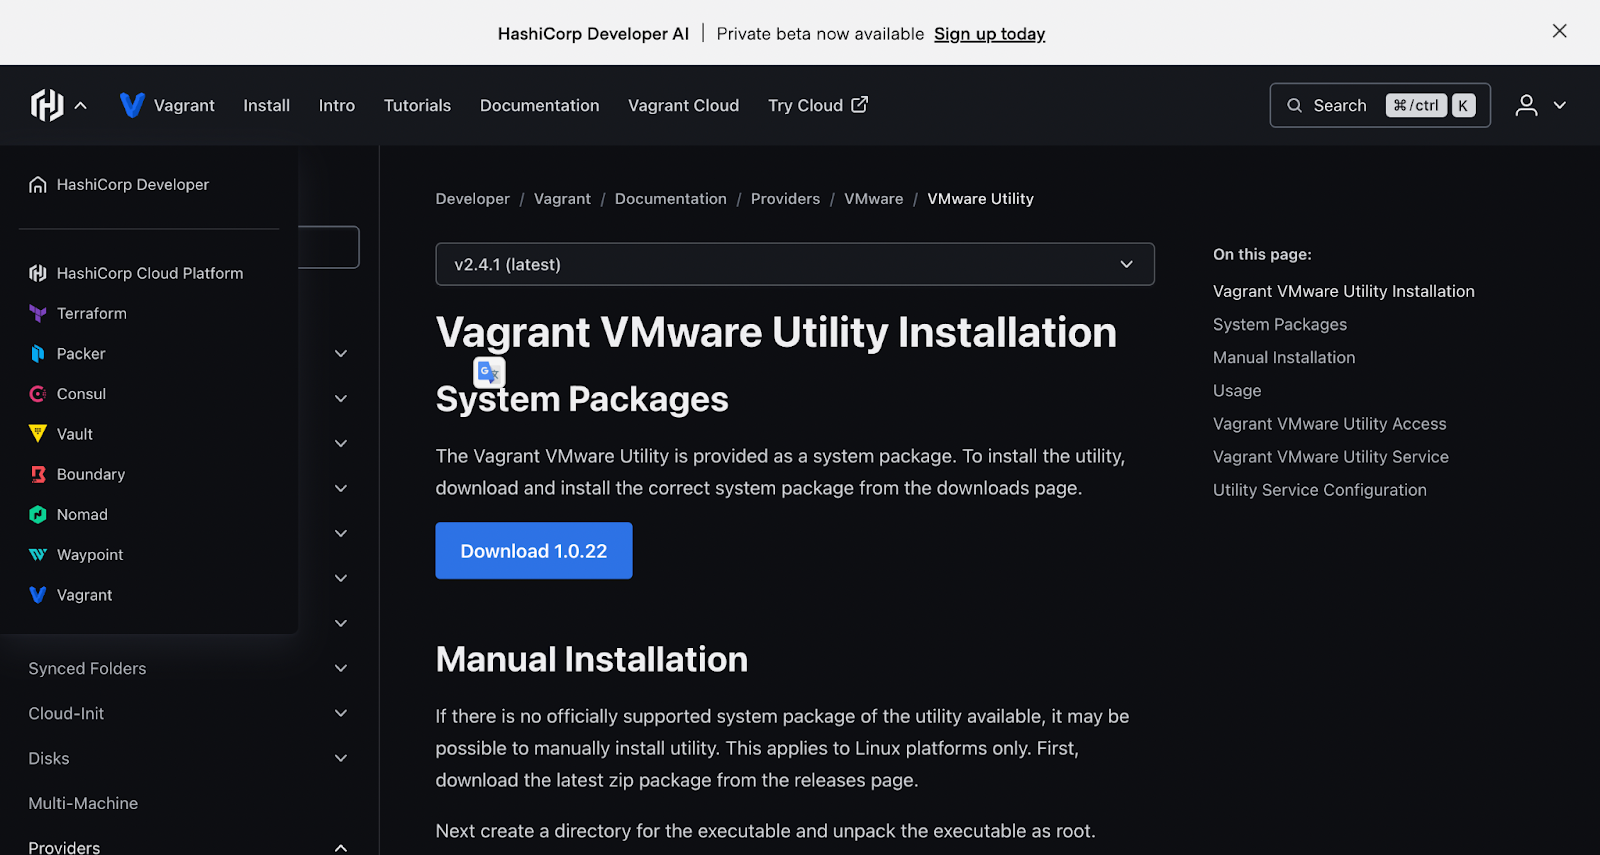
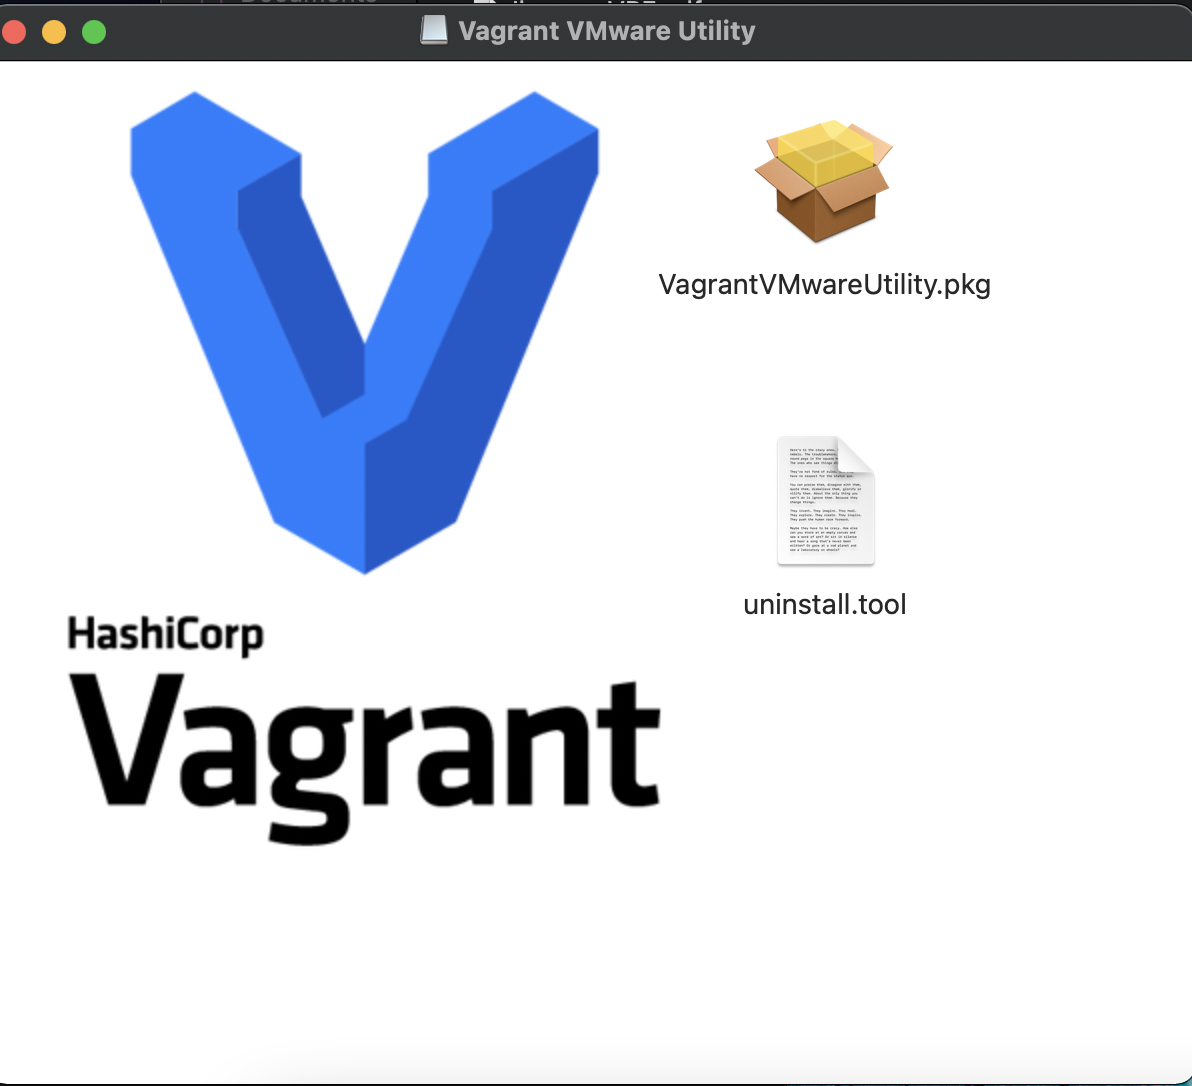
STEP 2: DOWNLOAD AND INSTALL VMWARE UTILITY
- Download the Vmware utility installer on Vagrant. After downloading the file, double-tap the pkg file, follow the prompt, and install it.
Run the command below on your terminal to install the Vmware-desktop plugin when it has successfully been installed.
vagrant plugin install vagrant-vmware-desktop
STEP 3: DOWNLOAD AND INSTALL VISION FUSION AND GET A FREE LICENSE KEY.
- Head over to the Vmware website and register for a personal license use.
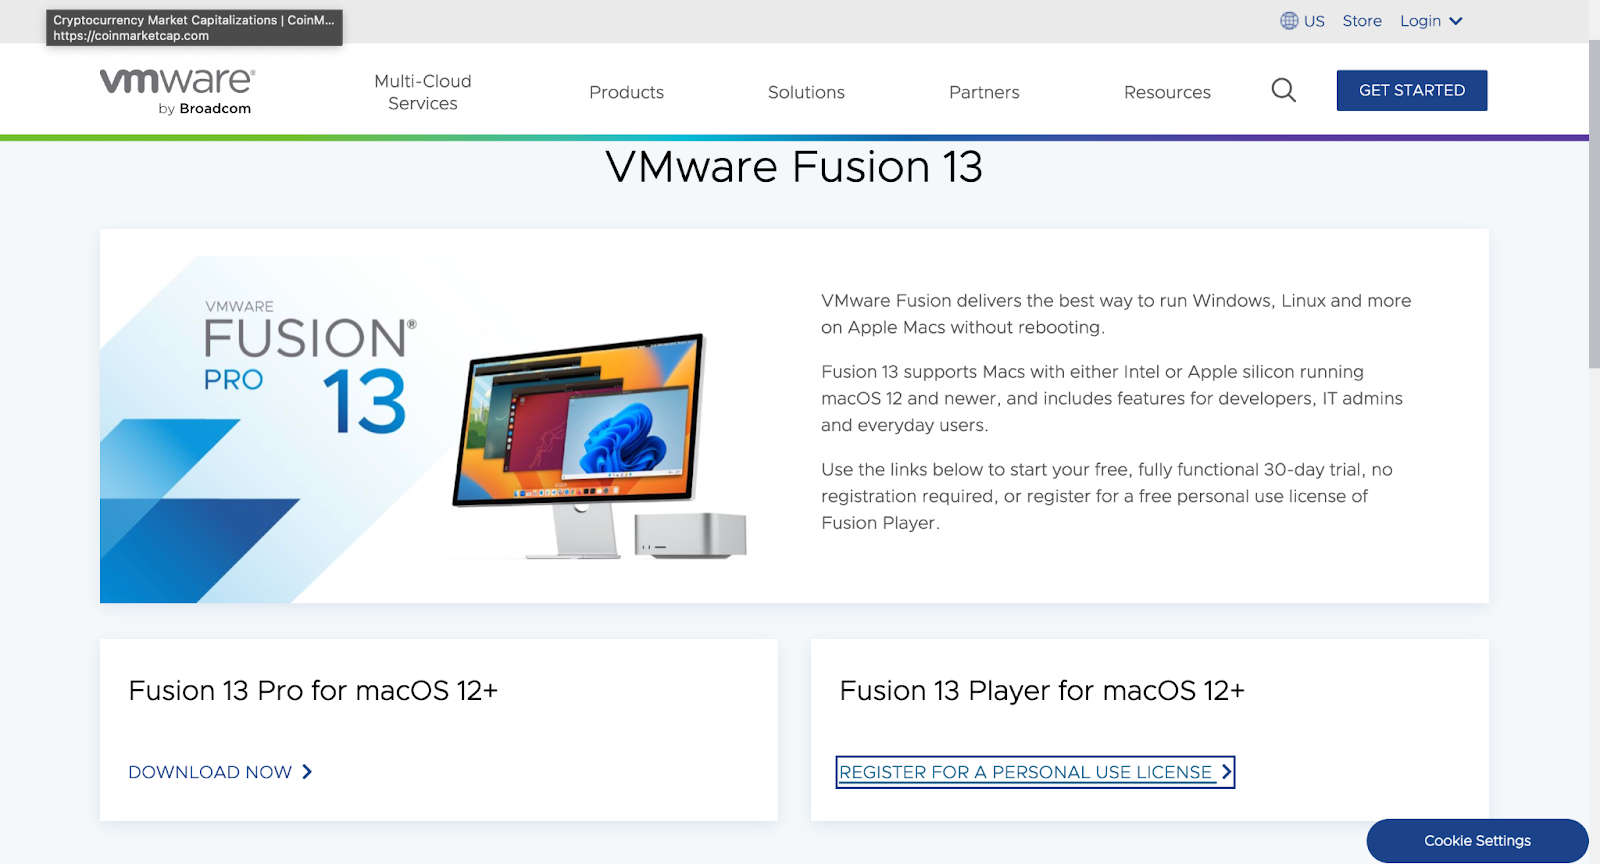
- Create an account if you don’t have one and then register for the product.
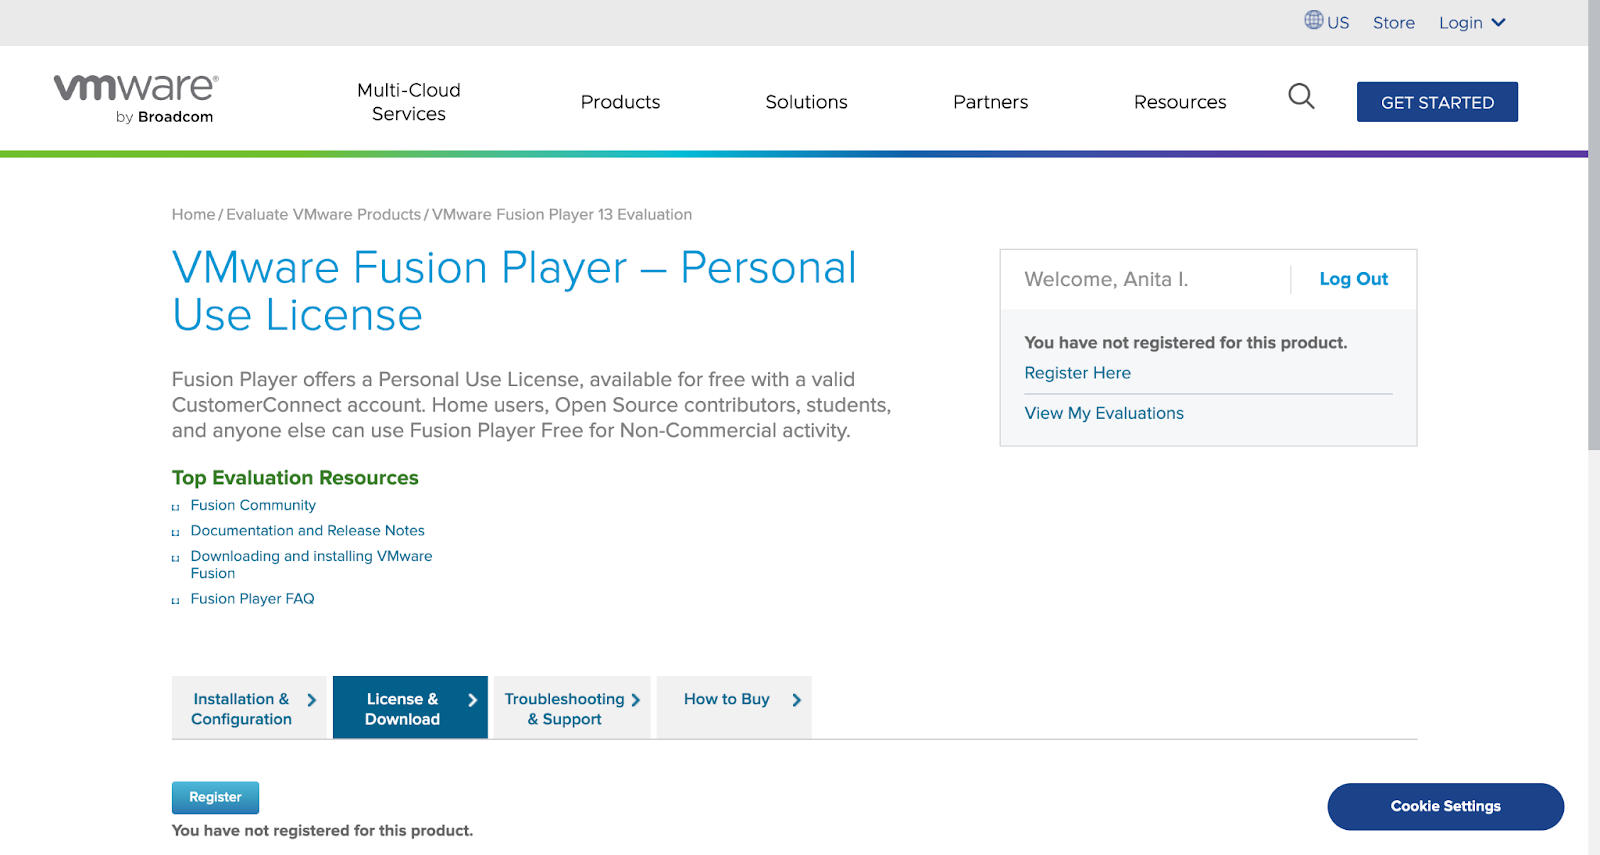
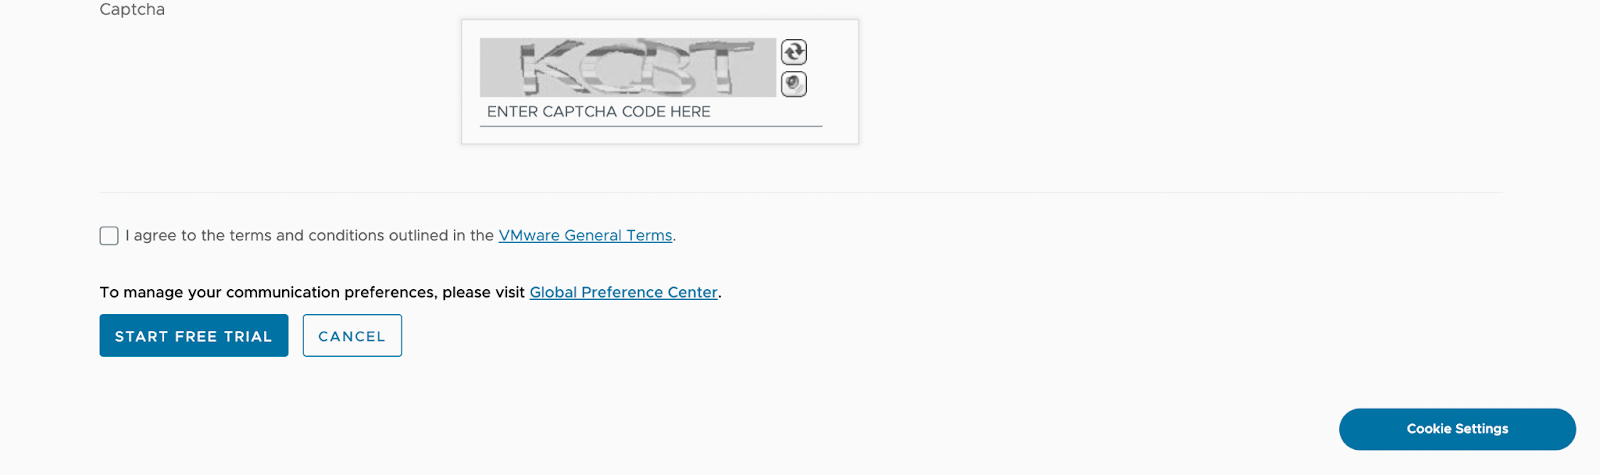
- Fill in your details and click on “Start a Free Trial”.
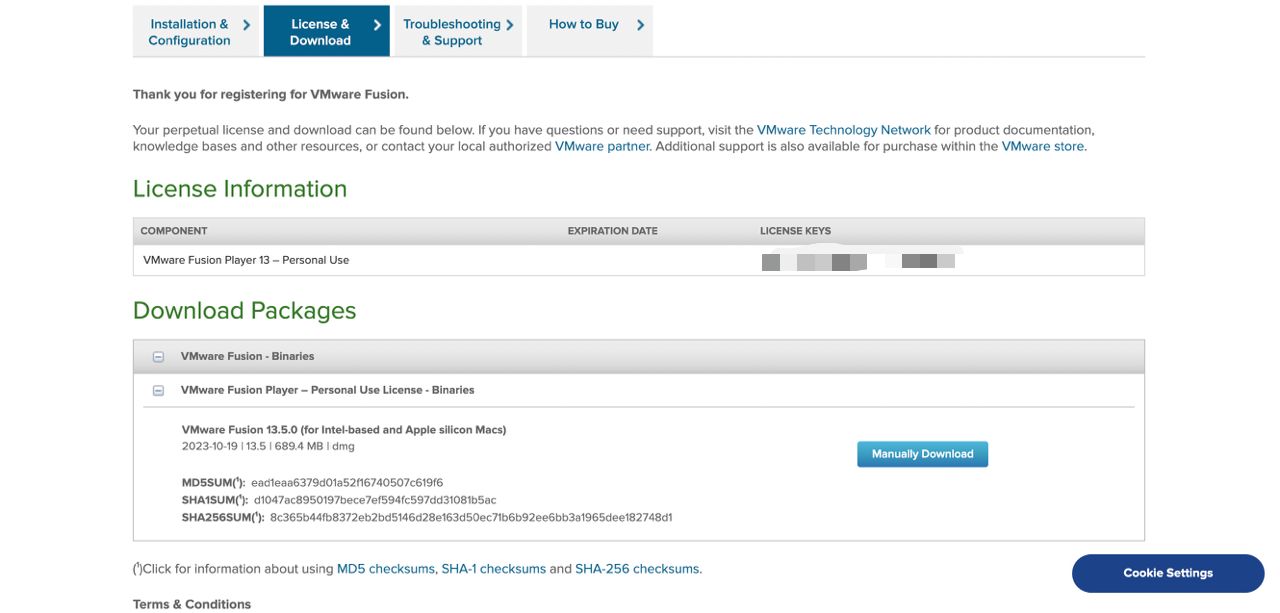
- Copy your license key on the new page, then manually download and install the VMware Fusion app.
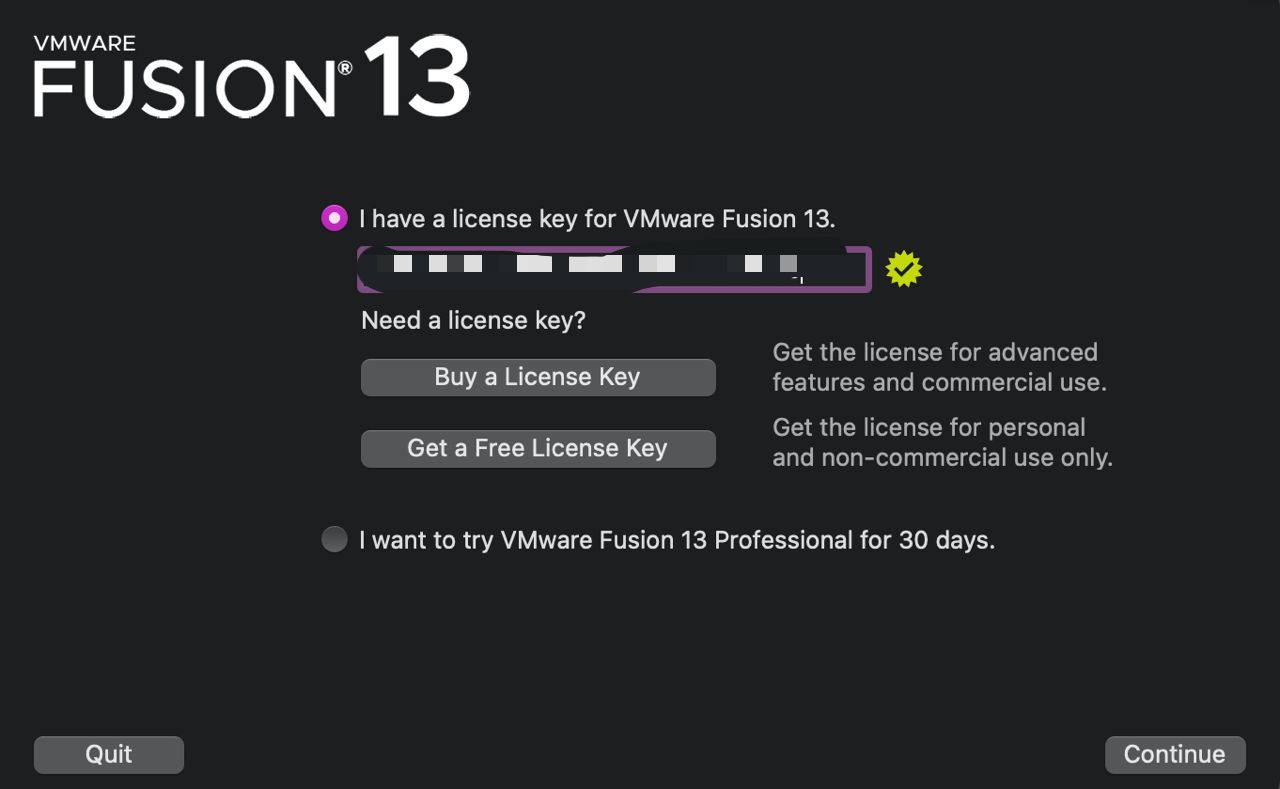
- Fill in the license key.
STEP 4: INSTALLING AN OS BOX
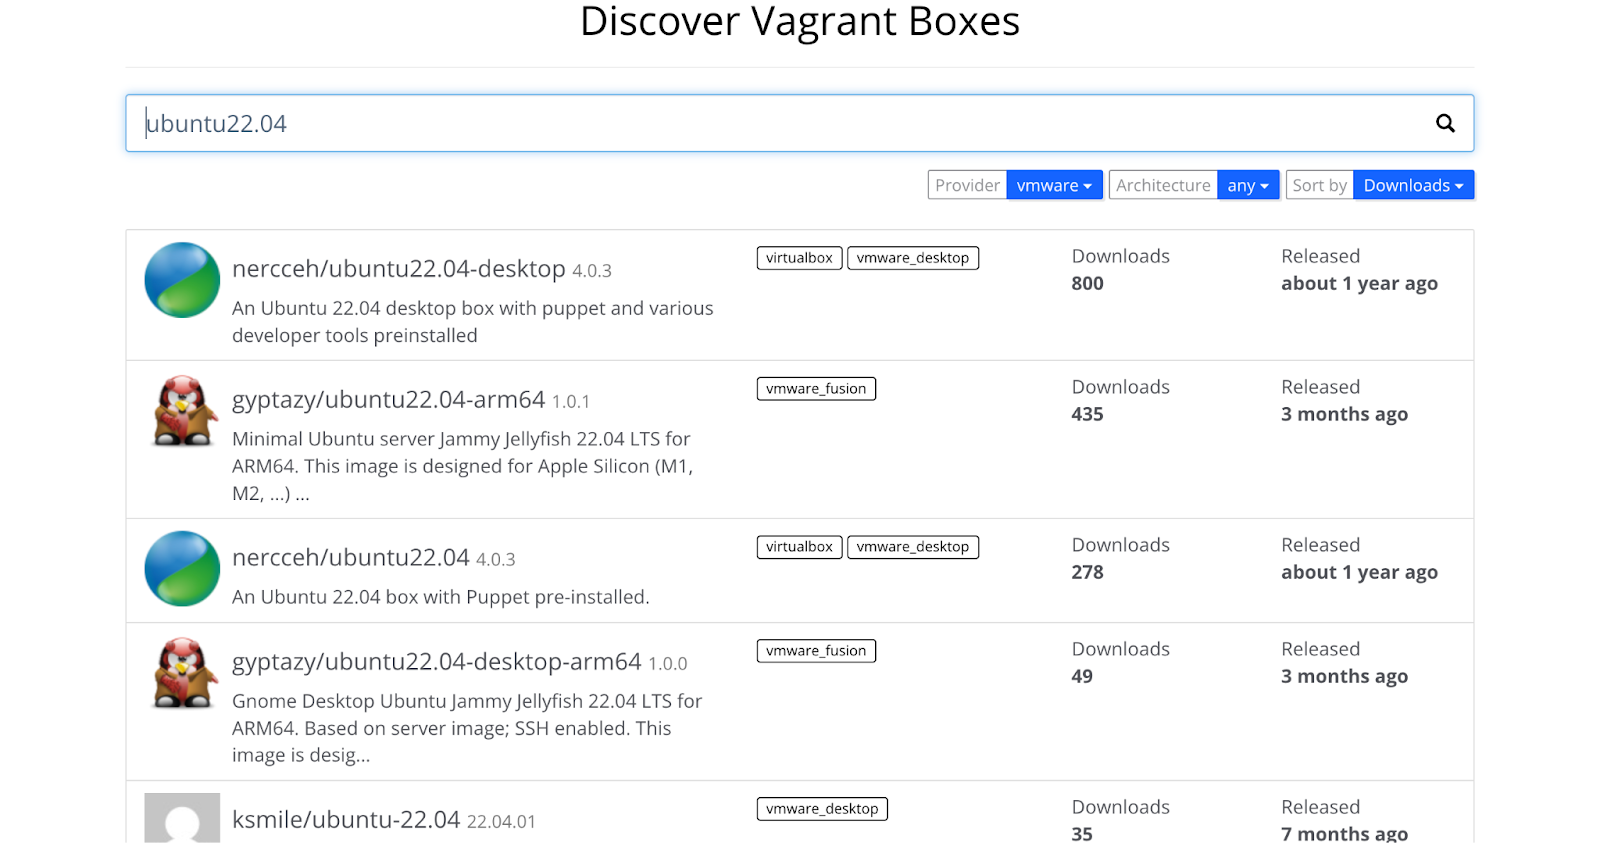
- Visit the official vagrant boxes website and get an OS box. I’ll recommend gyptazy/ubuntu22.04-arm64. It’s an LTS version, stable, and has been tested on multiple m1/m2 Macbooks.
- Run the command below on your terminal to initialize the vagrant file; creating a directory is advisable to easily track the location of the vagrant file.
vagrant init gyptazy/ubuntu22.04-arm64 |
- Next, run Vagrant to download and install the OS box.
vagrant up |
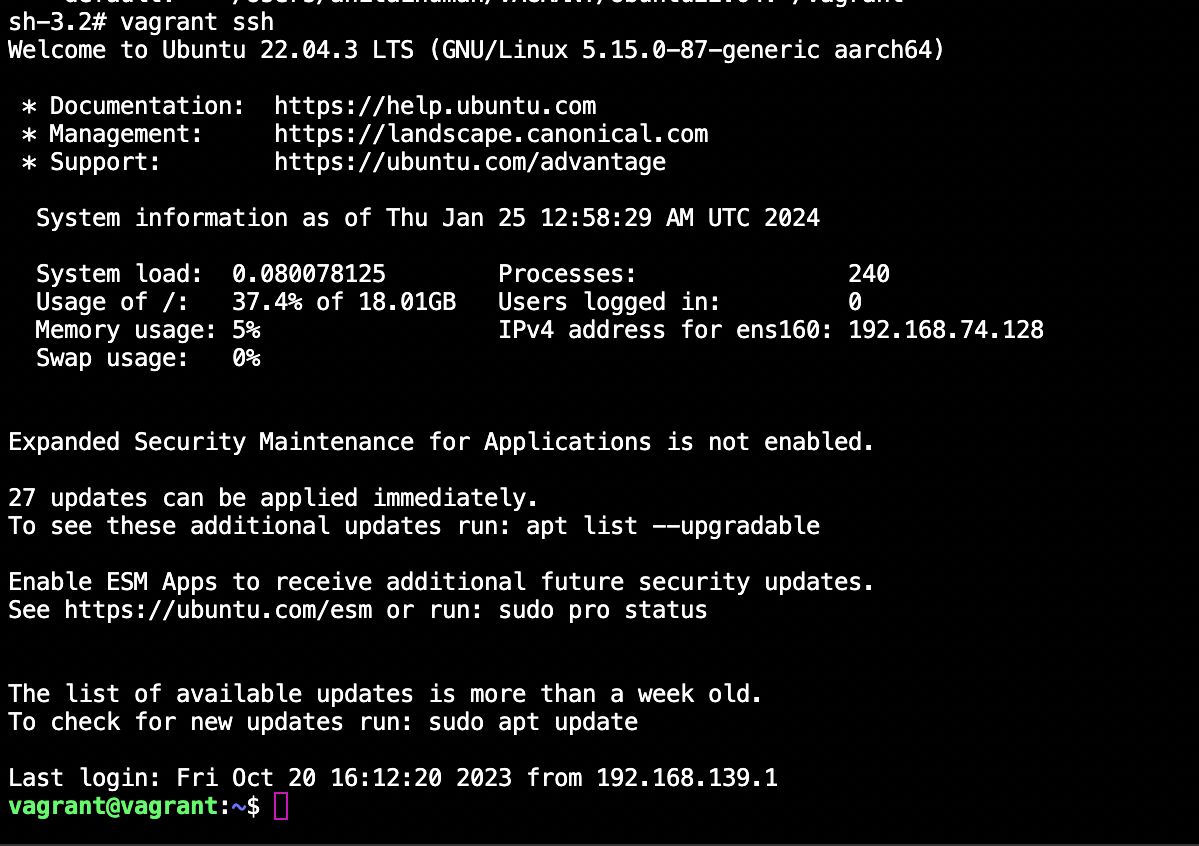
- Then you can run the "uname" command on your terminal; it should output Linux or whichever Linux distro's OS box you installed. Congratulations! You have successfully established a VM on your M1/M2 chipped Apple Macbook.
Conclusion
If you followed the steps correctly, you should have a VM running on your MAC. You can contact me via Linkedin or Twitter if you have any questions or difficulties.
If you want to learn more about how to use Vagrant, here is their documentation.